
 Tyres are integral components of a car. As well as keeping you firming rooted to the road, your tyres are essential to a safe and comfortable ride, providing the support your car needs to operate as it should do. As with the majority of car parts however, over time your tyres will experience wear and tear, and will eventually need replacing. Without replacement, poor, worn or damaged tyres not only reduce the performance of your wider vehicle, increasing fuel consumption and emissions, they increase your stopping distance putting you, your passengers, pedestrians and other road users at risk.
According to the AA, on average front tyres need to be changed every 20,000 miles whilst rear tyres can last for up to 40,000 miles. The lifespan of your tyres however depends on a number of factors, which makes understanding the signs that say tyre replacement is imminent important. A tread depth of less than the legal requirement (1.6mm) is the most obvious warning sign that your tyres need to be replaced. Whilst keeping your eyes peeled for cracks or blisters in the sidewalls of your tyres is another must when spotting wear. You may also notice that your car emits a humming or purring noise when in use and you may feel a greater amount of vibration when driving.
So you’ve noticed that your tyres need replacing, what next? Changing a tyre is something that you can do yourself, whether your tyres have reached the end of their life, you’ve suffered a flat or they’ve becoming prematurely worn. Our experts share the steps you should take to change a tyre.
Gather your tools
The tools you need to change a tyre are generally provided with your vehicle. Check your car owner’s manual to see if they are. All you’ll need is a jack, lug wrench and fully inflated spare to change a tyre. Depending on the conditions you’re changing your tyre in, you may also require a flashlight, rain coat, wood block (to secure the jack), gloves and wheel wedges. Keep your car owner’s manual handy too, you’ll find specific steps for changing your tyres there which makes for essential reading beyond this guide.
Choose your location
If your vehicle has suffered a flat tyre, you may not have the luxury of choosing the perfect tyre changing spot. Whatever your circumstances however, finding a safe location is important. A level stretch of road with a wide shoulder is the ideal spot for changing, whilst an empty car park or your own driveway is best setting you could hope for. Avoid changing your tyre in a place where your car could roll or on a road bend where there’s reduced visibility of oncoming traffic.
Once you’ve found a safe place to change your tyre, switch on your hazard lights and apply your handbrake.
Secure your vehicle
Wheel wedges are great investments for car owners who want to change their own tyres. These should be applied to your vehicle’s wheels to secure them in place. Where you place them depends on the tyre you need to change. If you’re changing a rear tyre, wheel wedges should be placed at the front of your front tyres. Whilst a front tyre change requires wedges to be positioned behind your rear tyres.
Once your vehicle is secure remove the hubcap or wheel cover to expose the lug nuts. You’ll find instructions on how to remove the hubcap or wheel cover for your specific vehicle make or model in your owner’s manual.
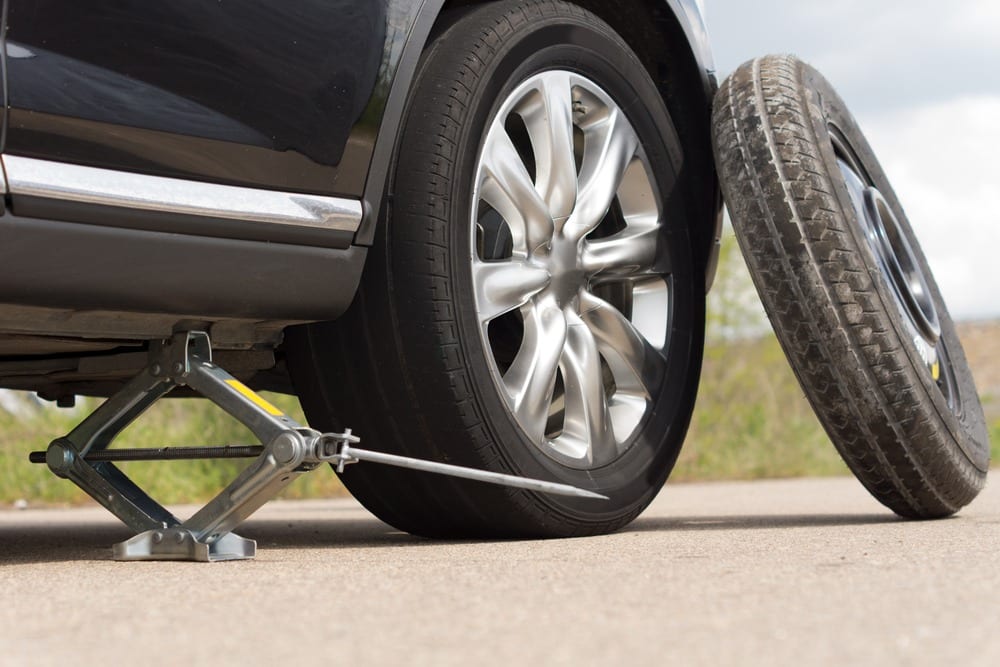
Loosen and jack it up
Using the lug wrench, loosen the lug nuts, turning them counter clockwise. Don’t remove them just yet, you should do this once your vehicle has been jacked. Place the jack under the vehicle’s frame and raise the vehicle with the jack. Once your vehicle has been raised avoid putting your arms, legs or body under the vehicle at any point. From here you can unscrew the lug nuts completely, removing the flat tyre by gripping the treads and pulling the tyre gently towards you.
Mount and tighten by hand
Use the lug bolts to mount your spare tyre, lining the rim as you go. The lug nuts should then be put back into place and tightened by hand. Your vehicle should be lowered to the ground before tightening the lug nuts fully with the wrench. After the final tightening the vehicle can be lowered completely and the hubcap replaced.
To finish be sure to check the pressure of your newly fitted tyre. You may also want to take your flat, damaged or worn tyre to a professional to determine the cause of deflation.


